Asset Management
Searching and Viewing Assets
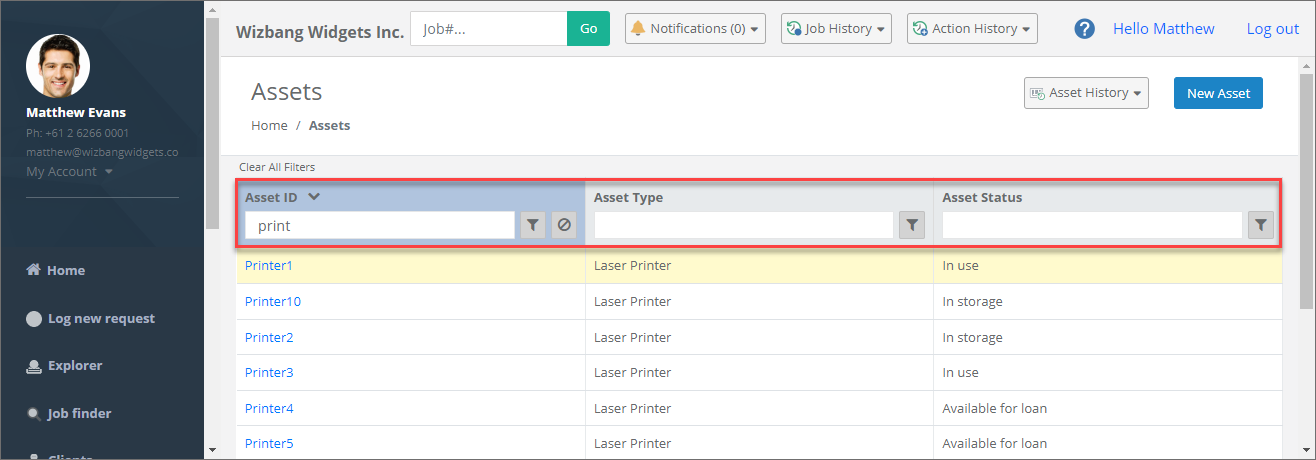
To search for existing Assets first click Assets from the navigation pane on the left. Enter any one or a combination of the available search filter columns including Asset ID, Asset Type, or Asset Status. Each filter will narrow the list of Assets as soon as text is entered into them. When you have found the Asset you are looking for, select it from the list to view it’s details.
Asset History
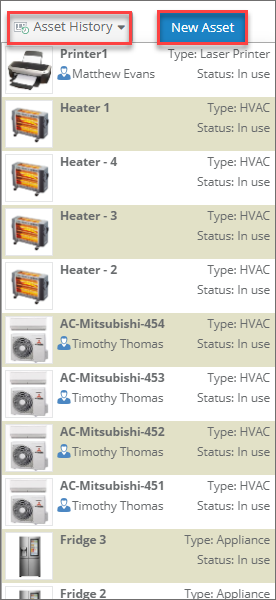
From v24.10+ quickly go back to Assets previously viewed, created, or edited by clicking the Asset History button which will show the 15 most recent Assets.
Create New Asset
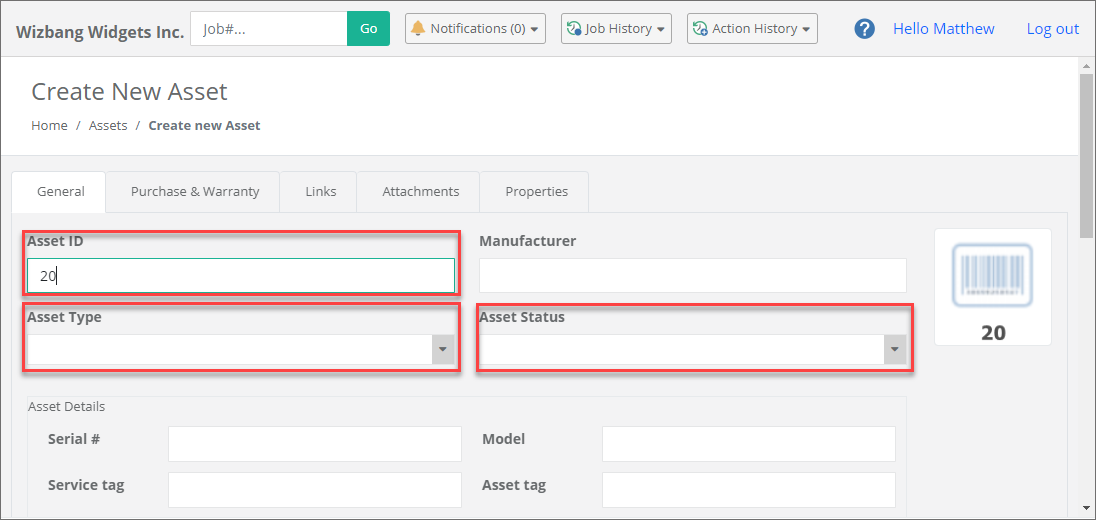
To create a new asset first click Assets from the navigation pane on the left followed by the New Asset button. You will be presented with the same screen as when editing an asset however with all blank fields. The minimum required fields are Asset ID, Asset Type, and Asset Status. The Asset ID may be auto-generated if the option is enabled from Asset Options in System Administration.
Editing Asset Details
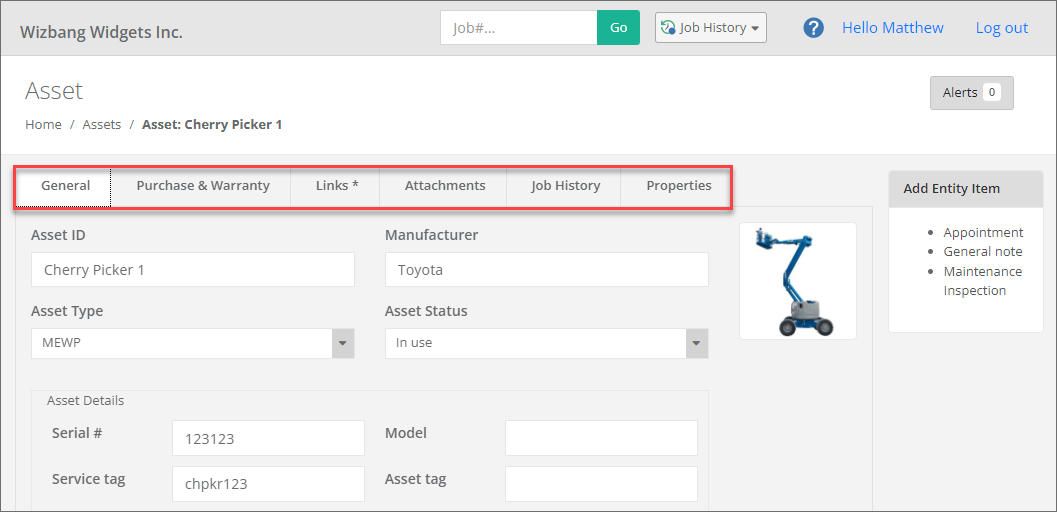
After finding and viewing the selected Asset you can edit any of the available fields by clicking the desired tab and editing the fields under each tab. Further usage of each tab is described below.
General
This default tab displays all of the general Asset fields.
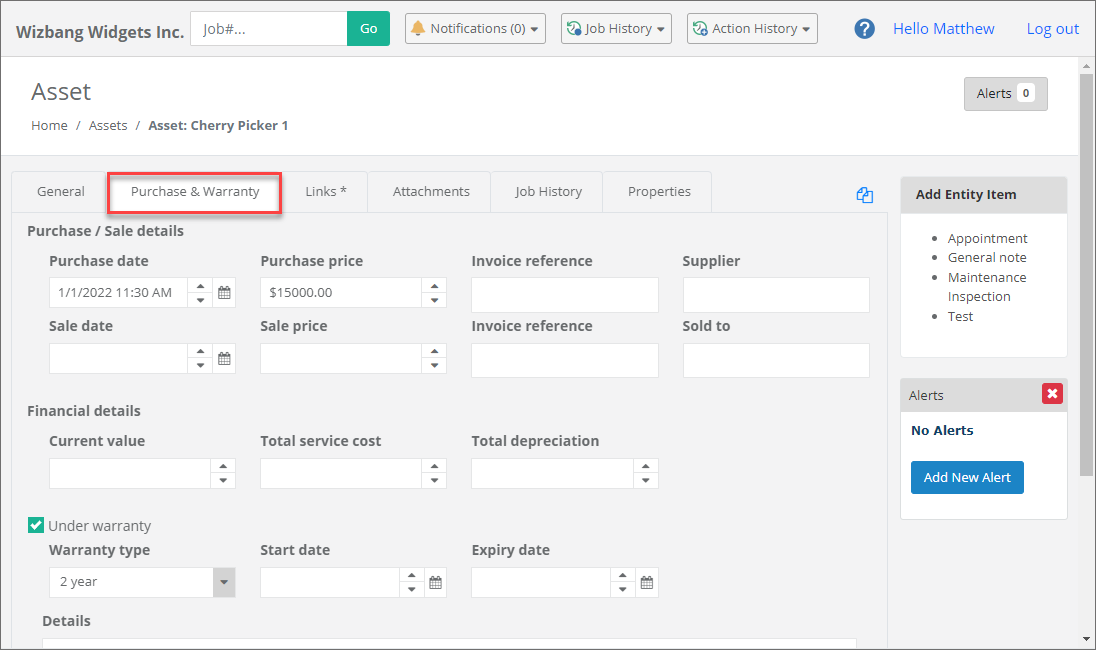
Purchase & Warranty
This tab displays all purchase, value and warranty related dates and costs.
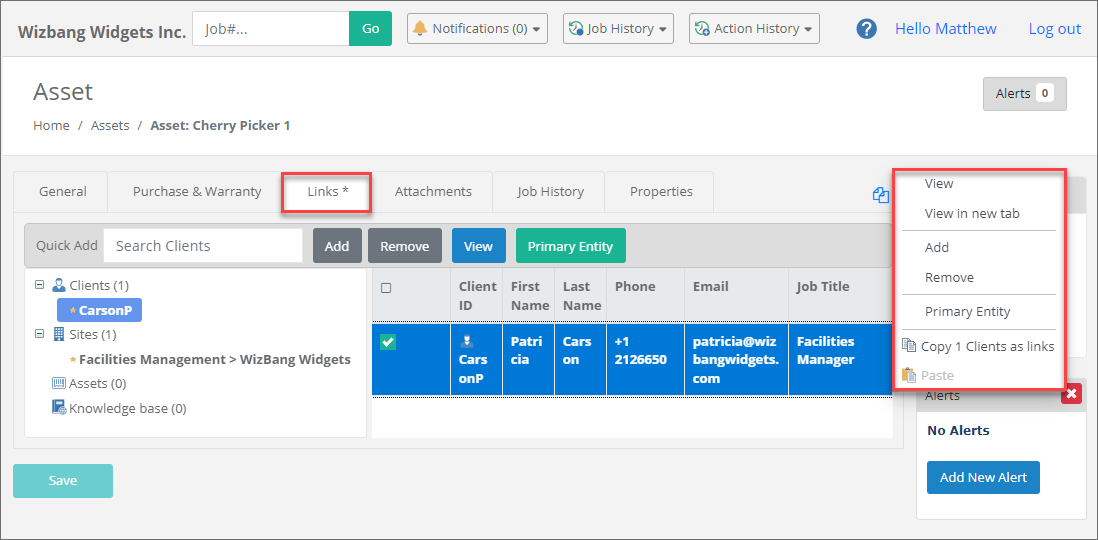
Links
The links tab shows the main entities that may be linked to the asset. This includes Clients the asset may be issued to, Sites where the asset is stored or issued to, other Assets that make up a set or kit, and Knowledge base articles that may further describe the asset or outline usage details. From v24.10+ multi-select of all entities on the links tab is also possible for copying links.
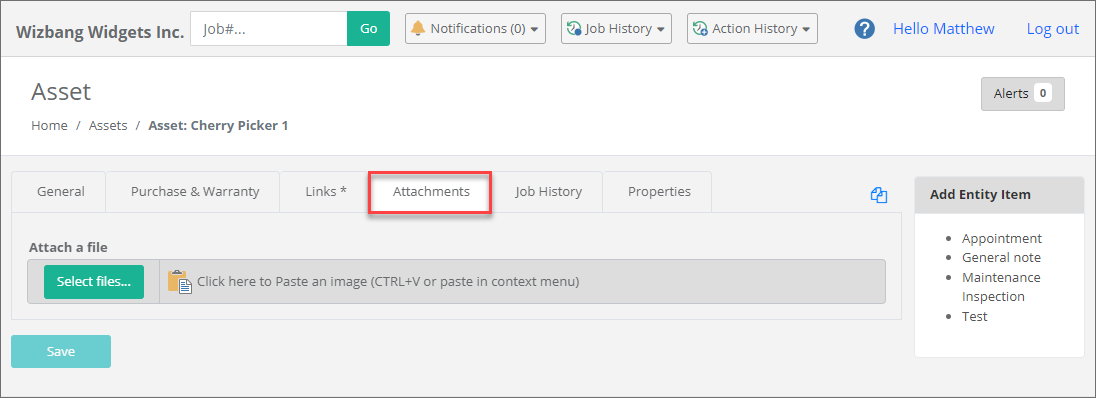
Attachments
The attachments tab will contain any relevant asset documentation and images e.g. user manuals &/or condition photos. These can be added or removed via the web portal by privileged staff users. Attachments to assets can be added or removed from this tab. View, Download, Rename, and Remove attachments using the right click context menu. Add attachments by either browsing to them using the Select file… button, or by right clicking and pasting them into the area next to the button.
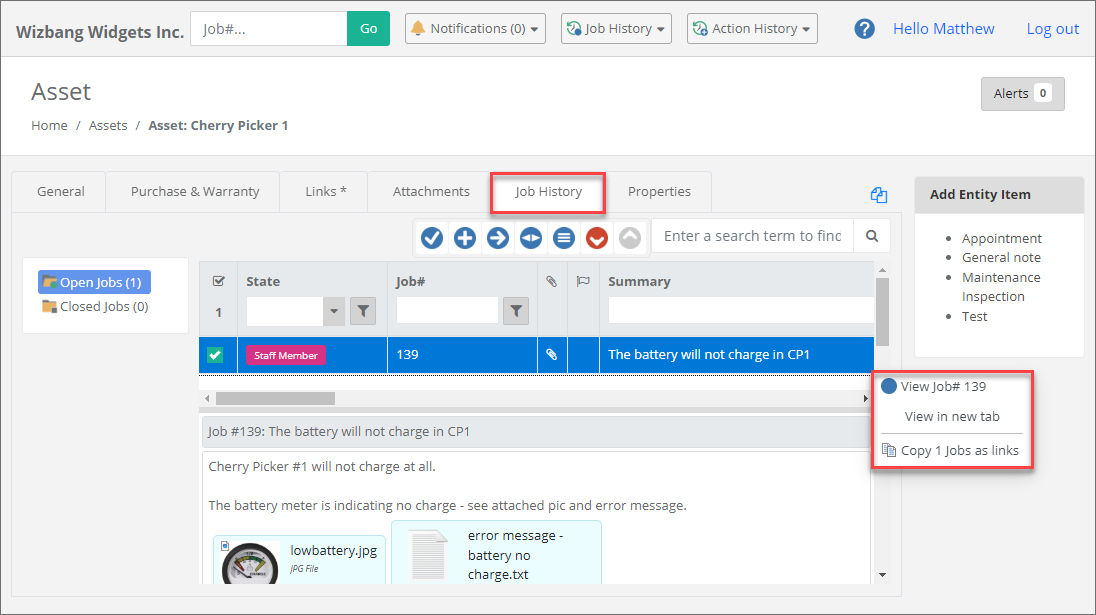
Job History
This tab will list open and closed jobs that were logged relating to this asset. These jobs can be viewed and updated by clicking on them. From v24.10+ multi-select is also available for copying and actioning multiple jobs. These jobs can be pre-viewed and updated by selecting them and using the Action Toolbar above them.
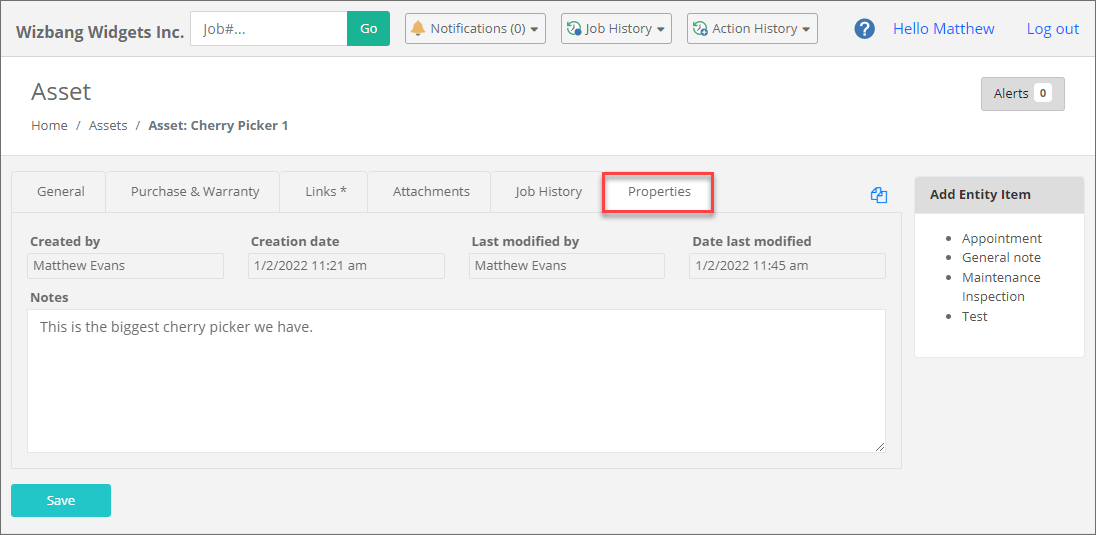
Properties
This tab displays the creation and modification details as well as providing an additional Notes field.
Saving Changes
Once you have made any changes to, or finished creating an asset, scroll down to the bottom and click the Save button.
See also
Feedback
Was this page helpful?
Glad to hear it! Please tell us how we can improve.
Sorry to hear that. Please tell us how we can improve.