Defining Priority Manager profiles Overview
Each Priority Manager profile consists of the following main elements:
- The name of the profile
- The search criteria to find jobs that will be actioned by this profile
- The actions to perform on these jobs
- Date operations to be performed on the jobs
- Email to be sent
- The properties and frequency of when the schedule should run
Remember that you can create an unlimited number of profiles, so it is possible that some profiles may over-lap in their ability to target and action jobs.
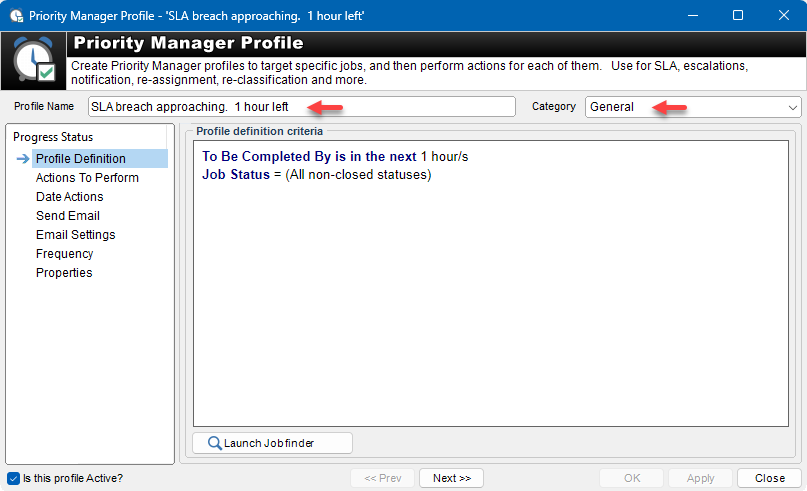
Naming and categorizing the profile
The first step in creating a profile is to give it a name. The name of the profile can be anything you like. It is a good idea to give the profile a title that is representative of its nature. Eg. Close old jobs, Escalate urgent jobs, Reassign difficult jobs to John etc
Establish a naming convention
You may wish to implement a naming convention when assigning names to Priority Manager profiles. For example, support based schedules may start with “SUPPORT :”, sales based schedules may start with “SALES :” etc.
Examples:
- SUPPORT : Escalate overdue jobs
- SUPPORT : Re-assign non-urgent jobs to John
- SUPPORT : Re-assign SQL Server jobs to Rob
- SALES : Send email after 1 day
- SALES : Escalate urgent sales jobs
etc.
Having a naming convention makes it easier to distinguish what a profile will do.
The Category field is simply a general classification that can help you organize and find profiles. Set it to an appropriate value. This field is administered via the System Codes screen.
Next step> Defining the search criteria
Feedback
Was this page helpful?
Glad to hear it! Please tell us how we can improve.
Sorry to hear that. Please tell us how we can improve.