Quick launch
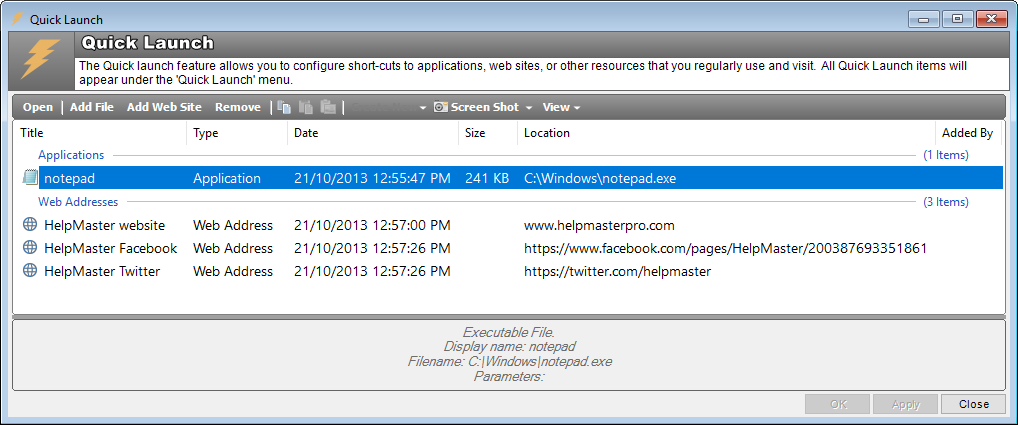
The Quick Launch function of HelpMaster is a quick access point to all your regularly used favorite files, folder locations, documents and web sites. Think of the Quick Launch menu as a short-cut system to access your files, website and applications, similar to a browser bookmark, or Windows shortcuts.
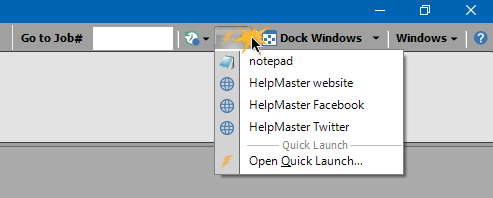
The Quick Launch screen is accessed via the HM menu, or via the small QuickLaunch button located in the top-right corner of HelpMaster.
The Quick Launch screen is similar in look and feel to the Attachments screen that is displayed on Jobs and Actions.
Use
Once you have added files to the Quick Launch screen, they can be accessed via the small button located in the top-right of the HelpMaster application title bar. Click on this button to display a drop-down list of all your Quick Launch items. Items may appear as a simple list, or grouped into folders according to their file type. Change this setting via the “Categorize “Quick Launch” items checkbox found in the User Preference screen.
Administration
Adding a file or document to Quick Launch
- Open the Quick Launch screen by using the User menu Quick Launch button
- Click on the Add File button, and browse to where your file is located (You can also drag a file onto the Quick Launch screen to add it)
- If adding an executable file to the Quick Launch, you can right-click it to select File Command Line Arguments… Use this to open the application, passing in the parameters/arguments that you specify
Removing a file or document from Quick Launch menu
- Open the Quick Launch screen by using the User menu Quick Launch button
- Select the file or document you wish to remove
- Click Remove
- Click on Yes in the Confirmation box which will appear
Updating a file or document in Quick Launch menu
- Open the Quick Launch screen by using the User menu Quick Launch button
- Select the file or document link you wish to update, and right-click on the file to display the edit options
- Make the necessary changes
- Click Apply
See also
Feedback
Was this page helpful?
Glad to hear it! Please tell us how we can improve.
Sorry to hear that. Please tell us how we can improve.