Entity based Triggered Events
Use an Entity data based trigger when you want an event to occur when certain data criteria is met. Think of an Entity data based trigger similar to an “If…This…Then…That” style processing logic.
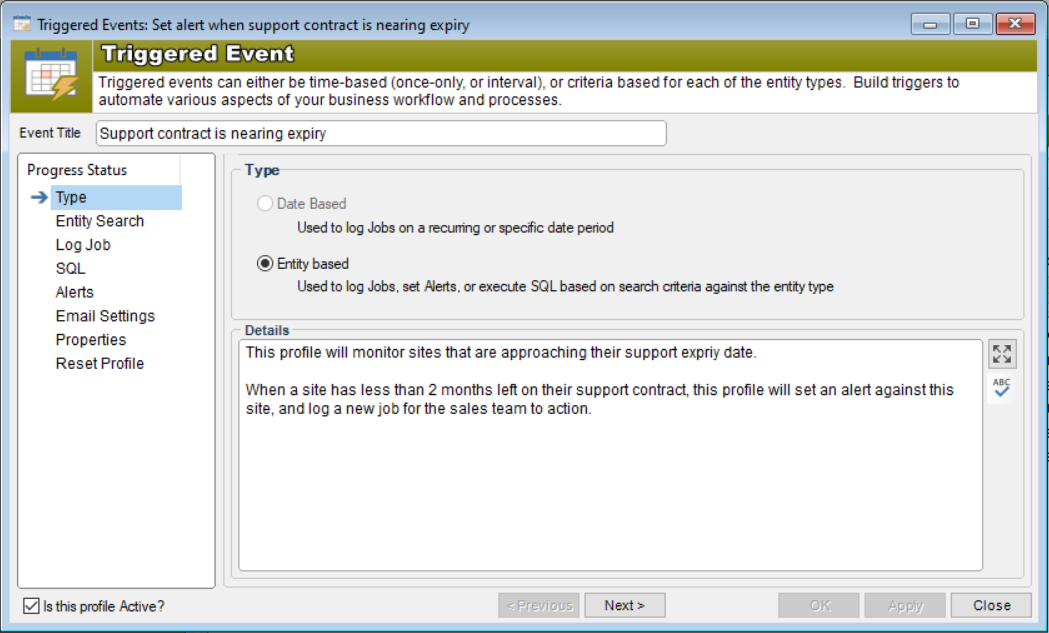
The Type section
Give the profile a descriptive name in the “Event Title”.
Choose “Entity based”.
Add details about what the profile does in the “Details” section. It is good practice to document all of your HelpMaster configurations. This will make it easier to maintain, upgrade and understand.
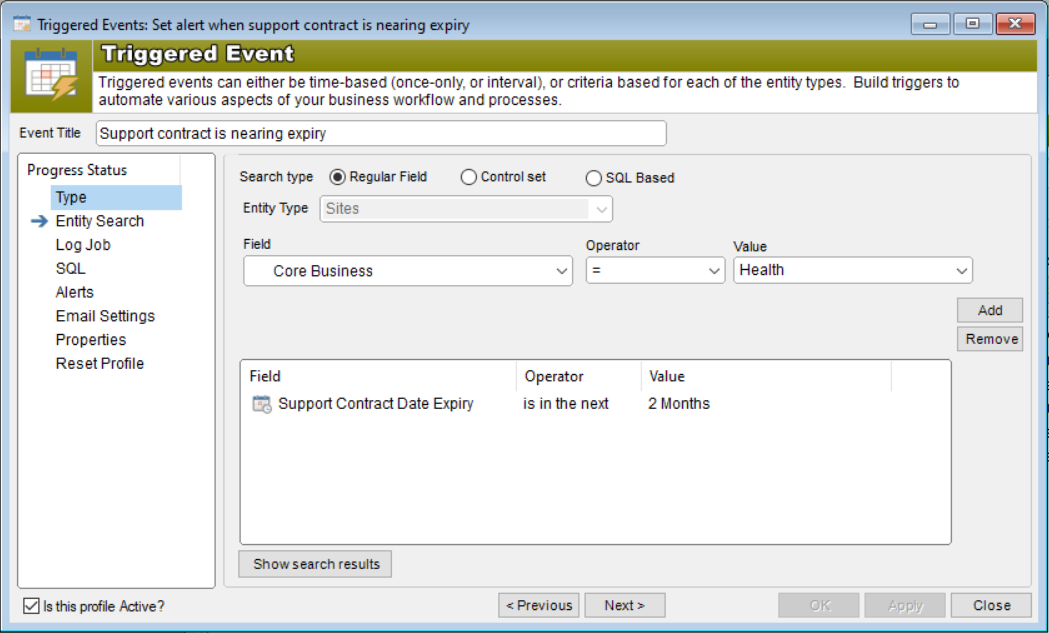
Entity Search section
This is the section of the profile where you tell HelpMaster what to look for. Use the following options.
- Regular Field: Select the required entity fields from the “Field” drop-down box to build your search criteria.
- Control Set: Select the required control set, and control set field(s) from the drop-down box to build your search criteria.
- SQL based: Allows you to define your criteria using SQL. This option should allows full flexibility, but should only be used by advanced users with knowledge of SQL and the HelpMaster database schema. Once selected, the SQL should return the PKID of the entity type you are targeting with the profile.
Entity Type: Select from the pick-list what entity type you are targeting with this Triggered Event profile. Only one entity type per profile can be selected.
Field criteria options: Use the field, operator and value controls to specify the search criteria for the entity. Build up a search statement, and click “Add” to add it to the criteria list. All added fields will combine in the search using the AND operator only.
Show search results: Click this button to display a list of entities that match the selection criteria you have defined. Use this result list to understand what the Triggered Event profile will do. Remember that this list only reflects what is current at the time of clicking the button. This list may, and probably will change by the time the Automation Service runs the profile at a future time.
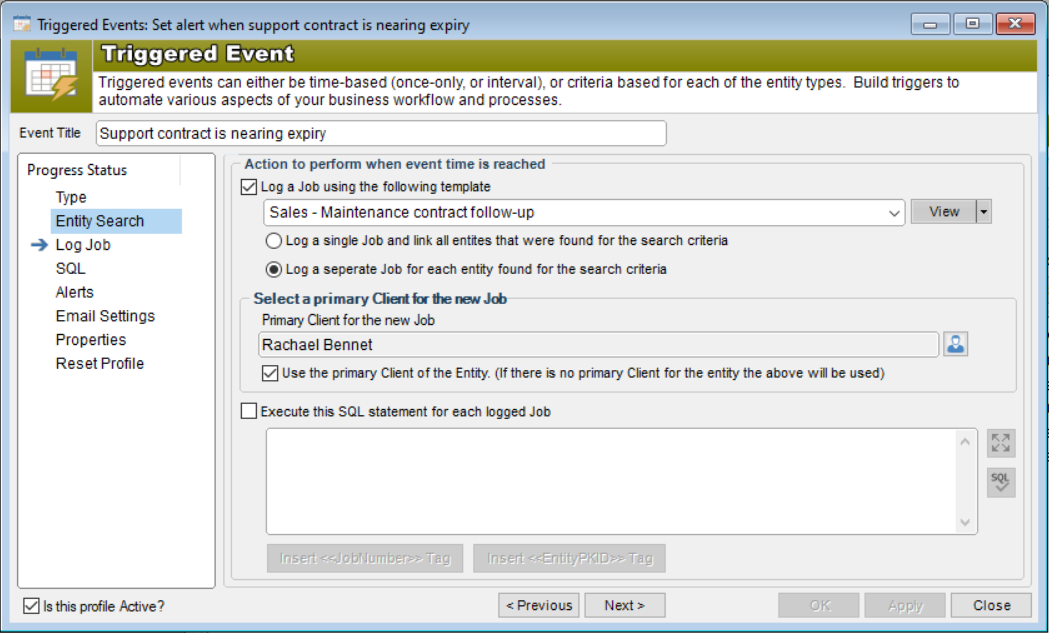
Log Job section
Check the “Log a Job using the following template” if you wish to create a new job as part of this Triggered Event. Once checked, select the appropriate job template and then choose one of the following options:
- Log a single job: Only 1 job will be logged, and all entities that match the criteria specified will be linked to it. For example, if the selection criteria in the profile found 20 entities (sites/clients/assets) that matched the criteria, only 1 job will be logged and all 20 clients will be linked to it.
- Log a separate job for each entity: Multiple jobs will be logged - one for each entity that matches your criteria. Use the “Show search results” on the criteria tab to get an idea of how many jobs may be logged. Use this option with caution and/or, ensure that your selection criteria is sufficiently narrow to only return the results you want. Remember, that this option has the potential to log A LOT of jobs!
Select a Primary Client to be used for the newly logged job. If the Job Template already has a linked client, it will be over-written with the one specified here. If the “Log a separate job for each entity” option is chosen, an additional option is available that can link the primary client of the entity to the job if that entity has a primary client. If the entity does not have a primary client, then the one nominated will be used.
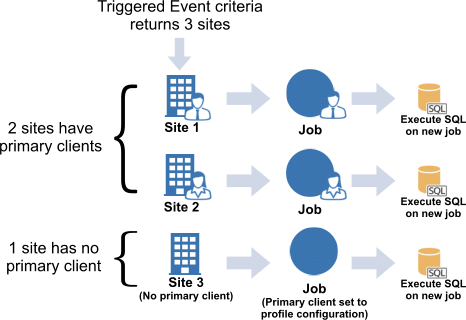
If separate jobs are logged for each entity found AND the checkbox is checked, the new job will link the primary client of the entity to the new job.
SQL section
Check “Execute this SQL Statement” if you wish to run a custom SQL script against each entity that is returned by the selection criteria. This feature should only be used by advanced users with knowledge of SQL and the HelpMaster database schema. Use this option with care. Use the “Insert EntityPKID tag” button to insert a token into your custom SQL. When the SQL is executed at the server, this token will be replaced with the unique ID of the entity(ies) that is/are being processed.

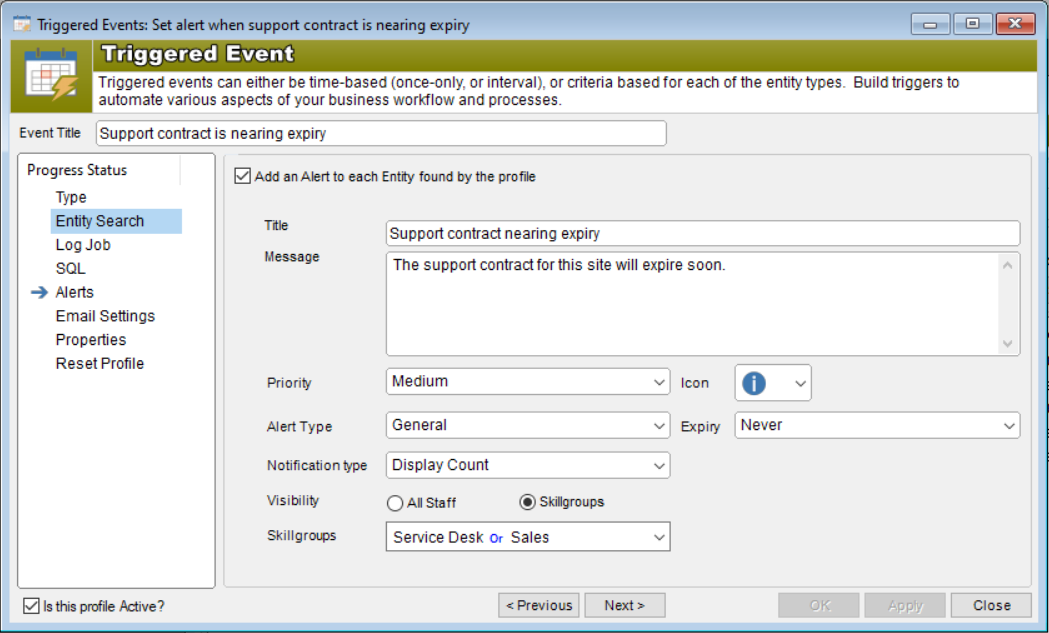
Alerts section
Check the “Add an Alert to the Entity” checkbox to add an alert to each entity that is returned by your search criteria.
Fill in the alert details as per a regular Alert. See Alerts for further details about this.
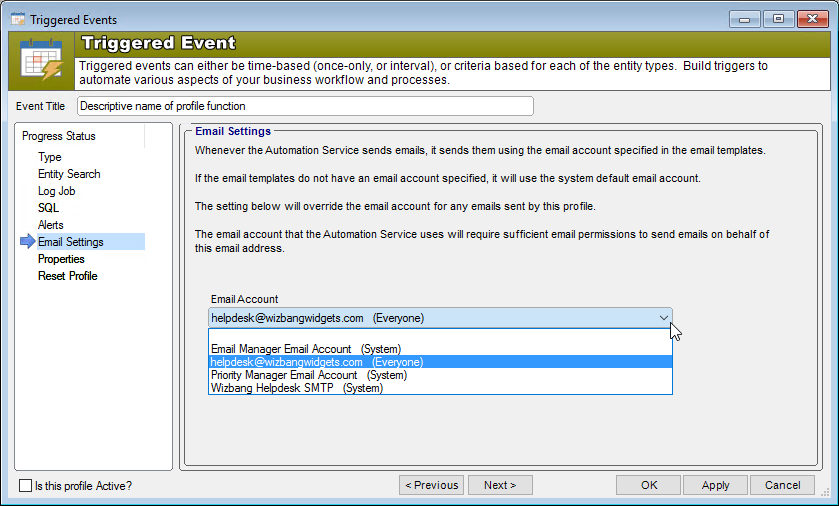
Email Settings section
Specify an email account that this profile should use for sending any email.
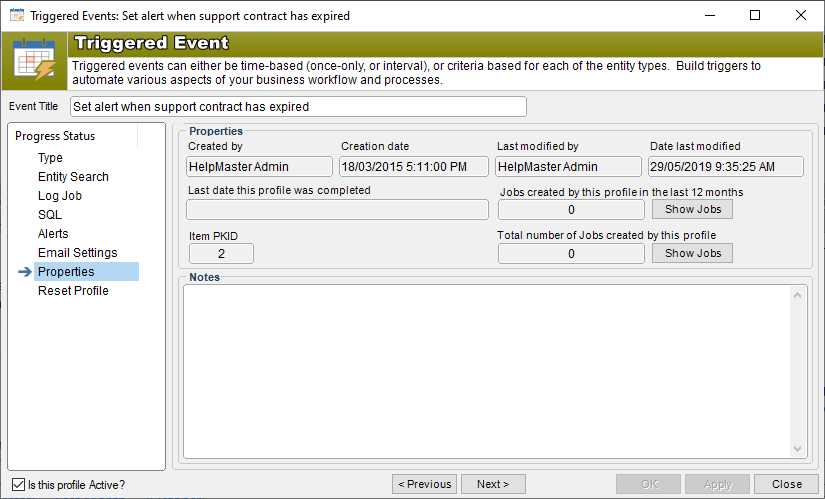
Properties section
Use this screen to view meta-data about the Triggered Event profile and to add / view / edit the profile Notes. The image below shows the Helpmaster v22 properties with the extra Show Jobs buttons which will display from Job Finder either Jobs created by this profile in the last 12 months or the Total number of Jobs created by this profile. Older versions are the same but without one or both buttons.
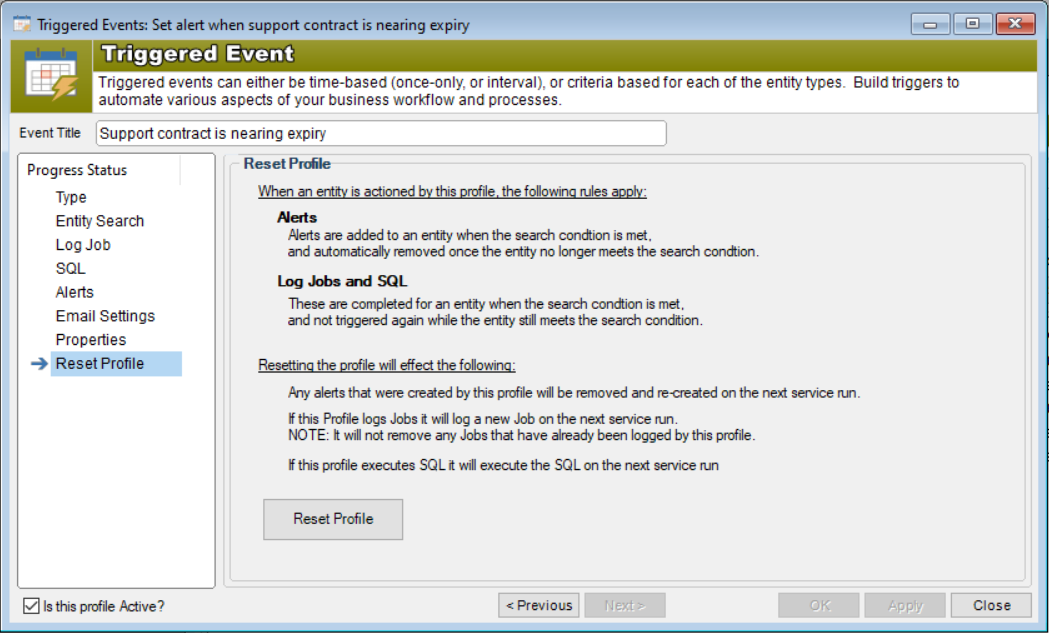
Reset Profile option
If the “Reset Profile” button is clicked the following reset actions will occur to this current profile only.
- Any alerts that were previously created by this profile will be removed and re-created on the next Automation service run.
- If this profile logs Jobs then it will log a new one on the next Automation service run.
- If this profile executes SQL it will execute the SQL on the next Automation service run.
See Also
Feedback
Was this page helpful?
Glad to hear it! Please tell us how we can improve.
Sorry to hear that. Please tell us how we can improve.