Quick start guide - Web Portal
Before you begin
It is intended that this Quick Start guide should be followed only after the HelpMaster Web Portal and the HelpMaster Desktop edition has been installed, and you have been able to logon to the Desktop Edition (you’ll need that for some of the configuration options)
If you are looking for instructions on how to install HelpMaster, or how to configure the database, please refer to the Installation Overview
HelpMaster Web Portal
The HelpMaster web portal is the web-version of HelpMaster that can be used by end-users, as well as helpdesk staff/agents. It features the flexible web request catalog feature for easy job logging, and a modern web-based look and feel.
Step 1 - Configure Web Settings

Use the Desktop edition of HelpMaster to configure the web settings. Update the logo, the text that is displayed on the home page, the welcome message and other settings including security, file attachments and logon options.
Step 2 - Create a Request Catalog

The request catalog is a key feature of the web portal that allows end-users and staff alike to create new helpdesk tickets.
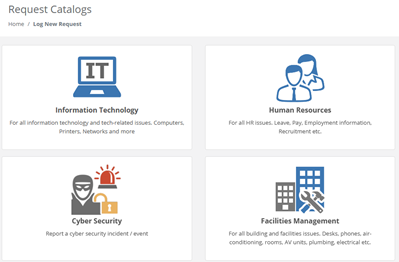
Configuring the web request catalog requires you to first create Job Templates that will be used to log the tickets, and then the top-level request catalogs that are presented to users.
Step 3 - Web-enable Knowledge Base articles
A key component of web-based client support is the publishing of knowledge base articles for users to search, use and provide feedback on. By default, knowledge base articles in HelpMaster are not web-enabled - that is, they are only viewable by internal staff/agents of the helpdesk.
Knowledge Base articles that are published to the web portal can be configured as “Featured Articles”
Feedback
Was this page helpful?
Glad to hear it! Please tell us how we can improve.
Sorry to hear that. Please tell us how we can improve.