Upgrading an existing HelpMaster database
When new versions of HelpMaster are released, or as maintenance patches for the database are released, it may be necessary to update your HelpMaster database. The HelpMaster Database and Reports Wizard makes this an easy task. Database updates are often required to correct bugs, implement new features, or update existing data structures for better maintenance and performance. The HelpMaster version history and/or release notes will indicate which version of the HelpMaster database is required, and whether an upgrade is required from previous versions. Please ensure that you consult this document as part of your upgrade process.
Database permissions
In order to upgrade your HelpMaster database, you will need to log into SQL Server (step 4 below) with an account that has dbo (Database owner) permissions and either sysadmin or serveradmin roles. Before the database upgrade is started, a permissions check will be performed.
The database upgrade process will attempt to run a “reconfigure” statement. See http://msdn.microsoft.com/en-us/library/ms176069.aspx for further details.
File system permissions
The upgrade process will also deploy the latest Crystal Reports report files to your nominated Reports folder. Please ensure that the account you are using (Windows login) has the appropriate NTFS permissions to create folders (for backup) and copy files to your working folder locations.
What about my existing data?
All existing data is maintained - nothing is lost. Furthermore, a complete database backup is performed before any conversion / upgrade takes place
Do I need to do a database backup before I run the wizard?
Database backups are always a good idea, and creating a full database backup before any conversion or upgrade is highly recommended. The HelpMaster Database and Reports Wizard will create a backup before it attempts to upgrade your database.
What if the database conversion is unsuccessful?
If for any reason the database conversion / upgrade encounters errors or any other problem, all changes will be “rolled back” and your HelpMaster database will be restored to its original state. A log file will also be created at C:\ProgramData\PRD Software\HelpMaster\HelpMaster Database Patch.log whether the patch is successful or not.
Use
-
Ensure that you log onto a computer using a Windows network account that has sufficient network security access to browse to and copy files to the machine where your SQL Server is installed.
-
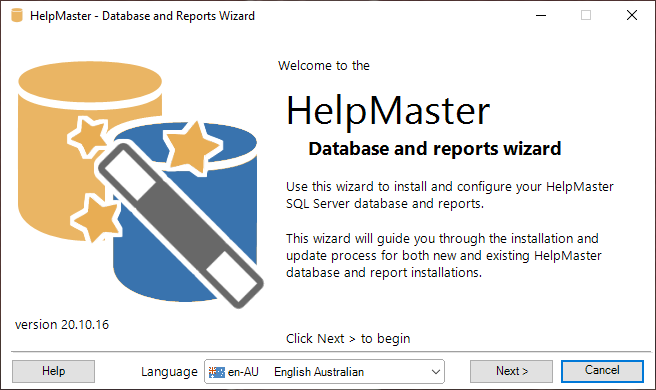
To upgrade your existing database, run the HelpMaster Database and Reports Wizard by clicking on Start Menu > All Programs > HelpMaster xx.xx > HelpMaster Database and Reports Wizard. The following screen will appear. Click Next > to proceed to the main menu.
-
Select Upgrade an existing HelpMaster database and click Next > to proceed.

-
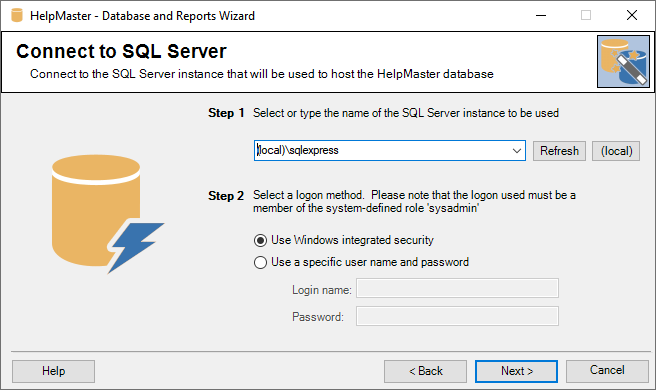
Select or enter the instance of SQL Server where your HelpMaster database is located and choose a logon method. Click Next > to proceed.
-
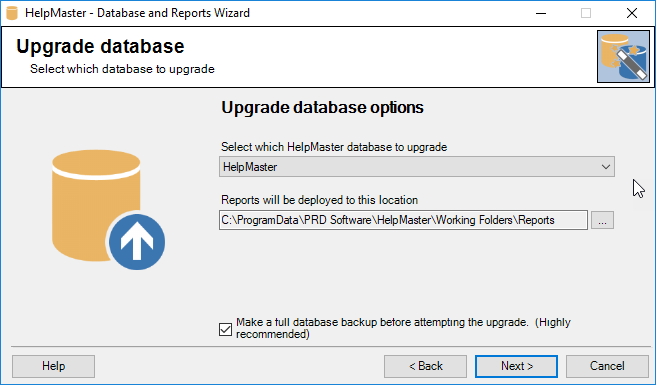
Select which database you want to upgrade. Note that as soon as you select a database, the reports location path will be displayed. This is where the new reports will be deployed. You can change this location if you wish. By default, a backup of your database will be created in the default SQL Server “backup” folder that was created when you installed SQL Server. Click Next > to proceed.
-
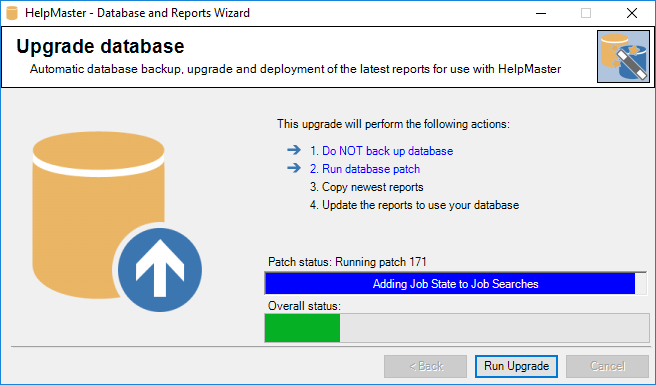
This screen presents a list of tasks the database wizard will perform. Click Run Upgrade to perform the upgrade. Please note that this step may take some time. When completed, the screen at step 7 below will be displayed.
-
Upon successful completion of the wizard, you will see the following screen.
Click Close to exit the Database and Reports Wizard
Feedback
Was this page helpful?
Glad to hear it! Please tell us how we can improve.
Sorry to hear that. Please tell us how we can improve.